There’s nothing quite like the aroma of warm, buttery garlic bread wafting through your kitchen. As someone who’s been baking bread for over a decade, I can tell you that this 15-minute garlic bread recipe has become my go-to solution for those busy weeknight dinners. It’s incredibly simple yet delivers restaurant-quality results every time. Today, I’m excited to share my foolproof method that transforms ordinary bread into a garlic-infused masterpiece.
Why You’ll Love This Recipe
Before we dive into the details, let me tell you why this recipe holds a special place in my heart. During my years of recipe development, I’ve discovered that the best garlic bread doesn’t require complicated techniques or fancy ingredients. This version strikes the perfect balance between convenience and flavor, making it ideal for both novice cooks and seasoned chefs.
Key Features
- Ready in just 15 minutes
- Uses common pantry ingredients
- Customizable to your taste preferences
- Perfect crispy exterior with a soft interior
- Freezer-friendly
- Great for feeding a crowd
Ingredients and Equipment Breakdown
Essential Ingredients
| Ingredient | Amount | Notes |
|---|---|---|
| French bread or Italian bread | 1 loaf (16-18 inches) | Day-old bread works best |
| Unsalted butter | 1/2 cup (1 stick) | Softened at room temperature |
| Fresh garlic | 6-8 cloves | Finely minced |
| Fresh parsley | 1/4 cup | Finely chopped |
| Kosher salt | 1/2 teaspoon | Or to taste |
| Black pepper | 1/4 teaspoon | Freshly ground |
| Parmesan cheese | 1/4 cup | Freshly grated (optional) |
| Italian seasoning | 1 teaspoon | Optional |
Equipment Needed
| Item | Purpose |
|---|---|
| Baking sheet | For cooking the bread |
| Aluminum foil | For wrapping and broiling |
| Sharp knife | For slicing bread |
| Mixing bowl | For combining ingredients |
| Garlic press | Optional but recommended |
| Pastry brush | For spreading butter mixture |
Step-by-Step Instructions
Preparation Phase
- Preheat your oven to 375°F (190°C)
- Line a baking sheet with aluminum foil for easier cleanup
- In a medium bowl, combine the softened butter, minced garlic, chopped parsley, salt, and pepper
- Mix until all ingredients are well incorporated
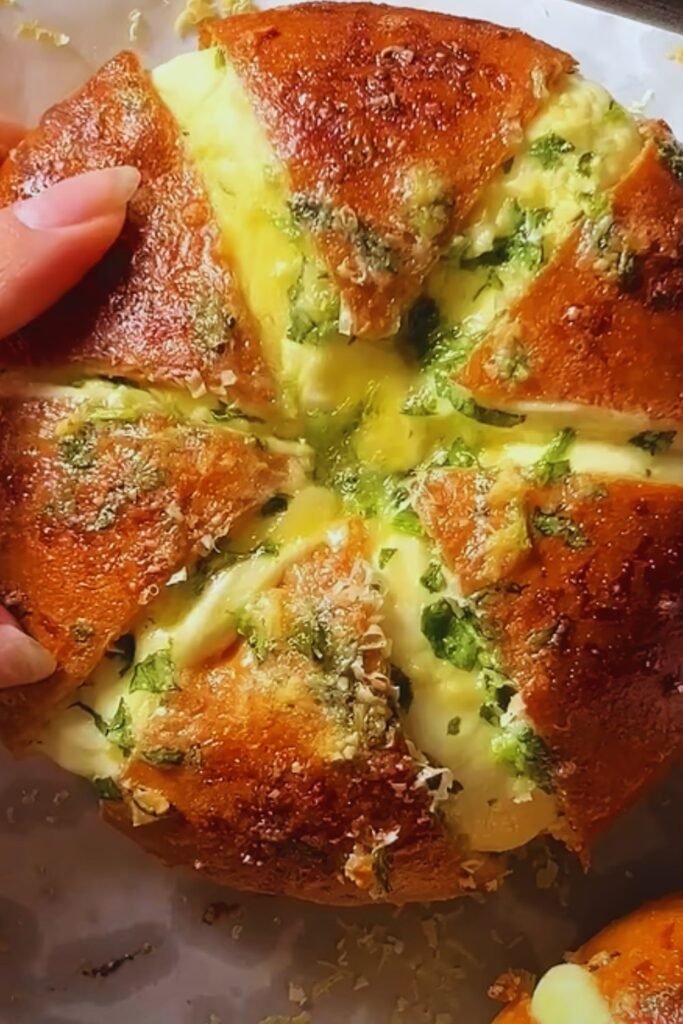
- Cut your bread loaf in half lengthwise
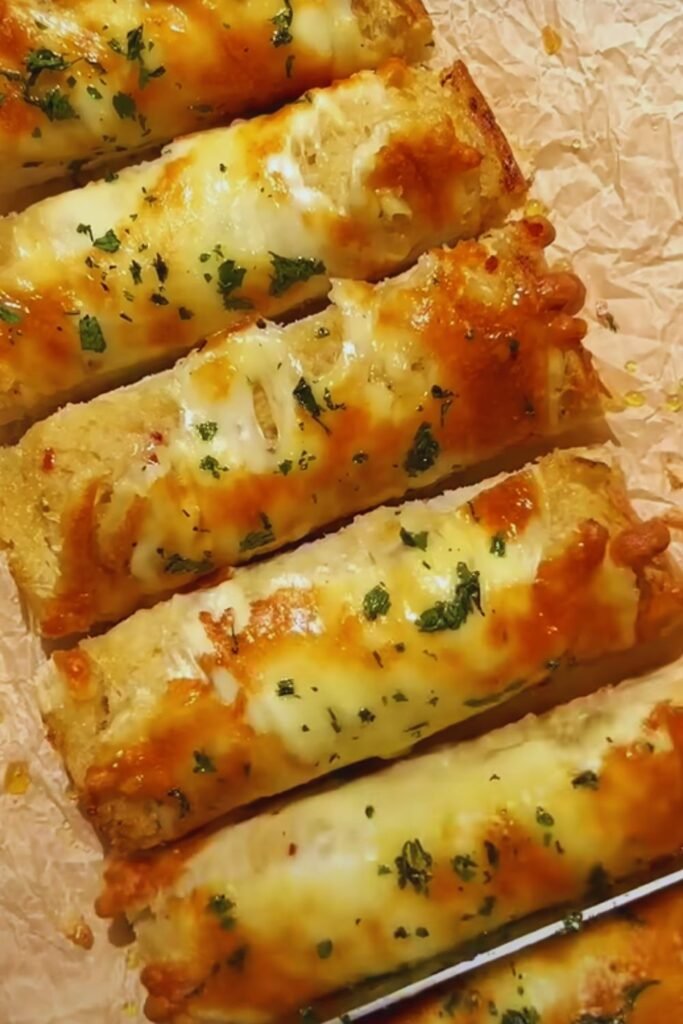
Assembly and Baking
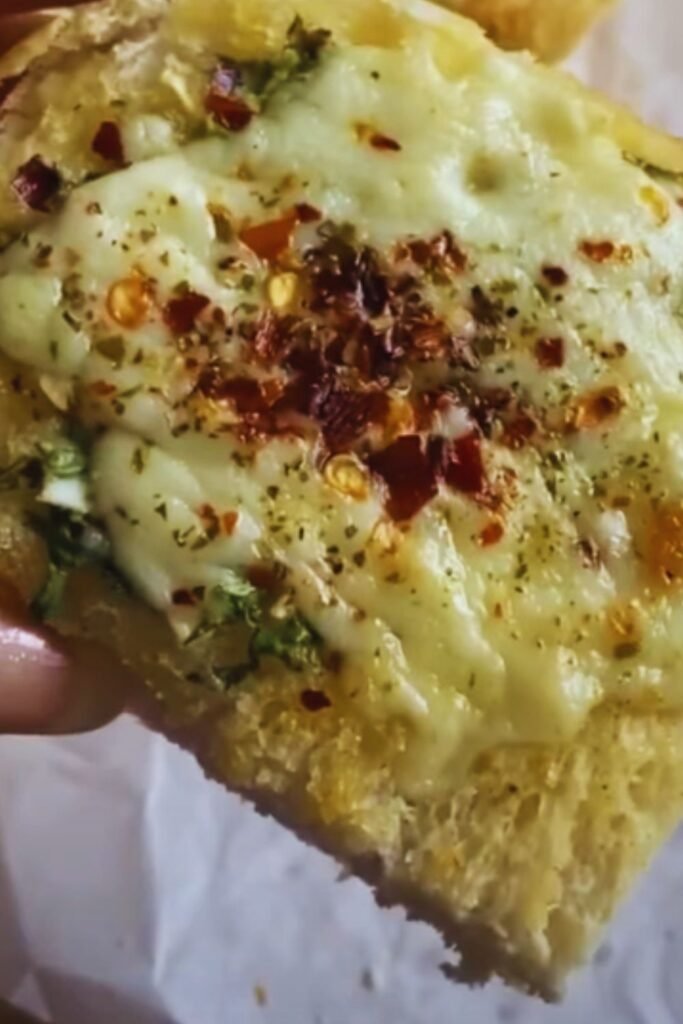
- Spread the garlic butter mixture generously on both cut sides of the bread
- If using, sprinkle with Parmesan cheese and Italian seasoning
- Place the bread cut-side up on the prepared baking sheet
- Bake for 10-12 minutes until the edges are lightly golden
- For extra crispiness, broil for 1-2 minutes (watch carefully!)
Pro Tips from My Kitchen
After countless batches of garlic bread, I’ve discovered several tricks that make a significant difference:
- Temperature Matters
- Always start with room-temperature butter
- Let minced garlic sit in butter for 5 minutes before spreading
- Preheat your oven completely before baking
- Garlic Preparation
- Use fresh garlic instead of pre-minced
- Mince garlic finely for even distribution
- For milder flavor, roast garlic beforehand
- Bread Selection
- Choose bread with a crispy crust
- Slightly stale bread works better than fresh
- Look for bread with small, tight crumb structure
Variations and Customizations
Classic Variations
- Extra Cheesy: Add mozzarella on top during the last 2 minutes
- Spicy: Include red pepper flakes in the butter mixture
- Herb-Forward: Add fresh basil, oregano, or thyme
- Mediterranean: Include sun-dried tomatoes and olives
Dietary Modifications
- Vegan: Use plant-based butter and skip the cheese
- Gluten-Free: Use your favorite gluten-free bread
- Low-Carb: Use cloud bread or cauliflower bread
Storage and Reheating
Storage Options
- Room Temperature: Up to 2 hours
- Refrigerator: Up to 3 days in airtight container
- Freezer: Up to 3 months when properly wrapped
Reheating Methods
- Oven Method (Preferred)
- Preheat to 350°F
- Wrap in foil
- Heat for 5-7 minutes
- Air Fryer Method
- Set to 350°F
- Heat for 2-3 minutes
- Check frequently to prevent burning
Serving Suggestions
This garlic bread pairs perfectly with:
- Homemade pasta dishes
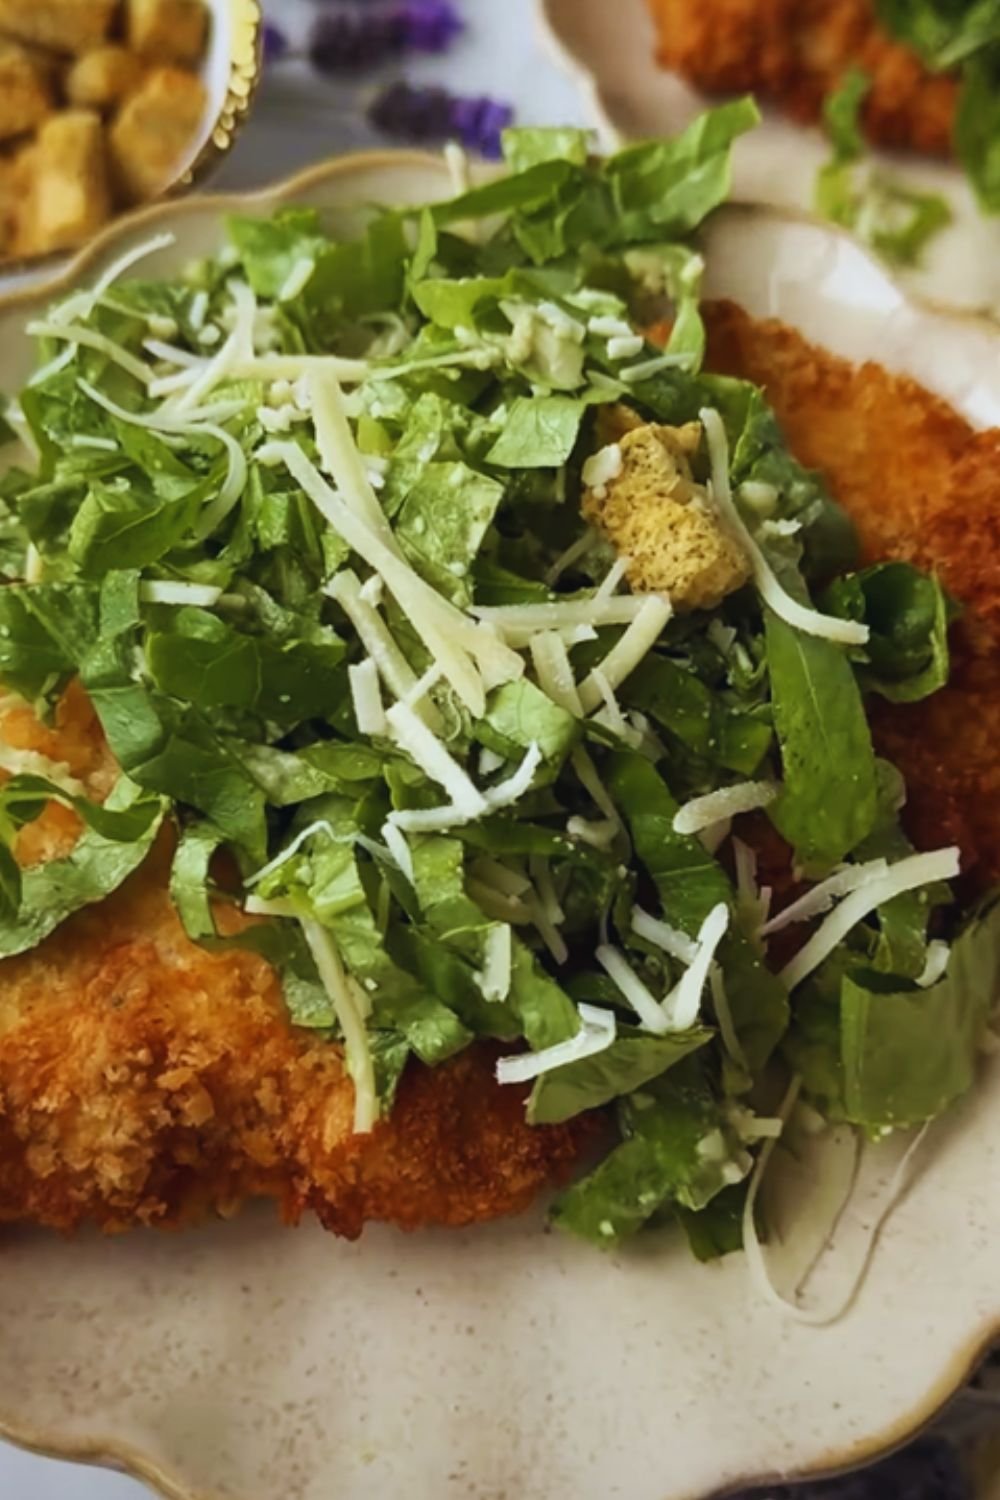
- Fresh garden salads
- Tomato-based soups
- Grilled vegetables
- Roasted chicken
- Italian-style meatballs
Troubleshooting Common Issues
| Problem | Cause | Solution |
|---|---|---|
| Burnt edges | Oven too hot or uneven heating | Lower temperature or adjust rack position |
| Soggy middle | Too much butter or insufficient heat | Use less butter or increase baking time |
| Uneven browning | Irregular butter distribution | Spread butter more evenly |
| Too garlicky | Too much raw garlic | Reduce amount or pre-roast garlic |
| Not crispy enough | Insufficient heat exposure | Broil briefly at the end |
Frequently Asked Questions
Q: Can I make this ahead of time?
A: Yes! Prepare the garlic butter mixture up to 3 days in advance and store it in the refrigerator. You can also fully prepare the bread and freeze it for up to 3 months.
Q: What’s the best type of bread to use?
A: French or Italian bread works best due to their crusty exterior and soft interior. Day-old bread is actually preferred as it holds up better to the garlic butter.
Q: How do I prevent the garlic from burning?
A: Mix the garlic thoroughly into the butter and avoid exposing any loose pieces. Also, watch carefully during the broiling stage.
Q: Can I use garlic powder instead of fresh garlic?
A: While fresh garlic provides the best flavor, you can substitute with 1-1.5 teaspoons of garlic powder if necessary.
Q: Why is my garlic bread not getting crispy?
A: Make sure your oven is fully preheated and consider broiling for 1-2 minutes at the end for extra crispiness.
Nutritional Information
| Nutrient | Amount per Serving |
|---|---|
| Calories | 180 |
| Total Fat | 12g |
| Saturated Fat | 7g |
| Cholesterol | 30mg |
| Sodium | 280mg |
| Total Carbohydrates | 15g |
| Dietary Fiber | 1g |
| Protein | 3g |
Serving size: 1 slice (approximately 2 inches)
Recipe Success Tips
- Quality Ingredients Matter
- Use fresh garlic and herbs
- Choose high-quality butter
- Select appropriate bread type
- Temperature Control
- Ensure proper oven preheating
- Monitor during broiling
- Serve while hot
- Preparation Techniques
- Cut bread evenly
- Distribute butter mixture uniformly
- Don’t rush the process
Remember, the key to perfect garlic bread lies in the details. Take your time with the preparation, and don’t be afraid to adjust the seasonings to your taste. With these instructions and tips, you’re well on your way to creating the perfect accompaniment to any meal.