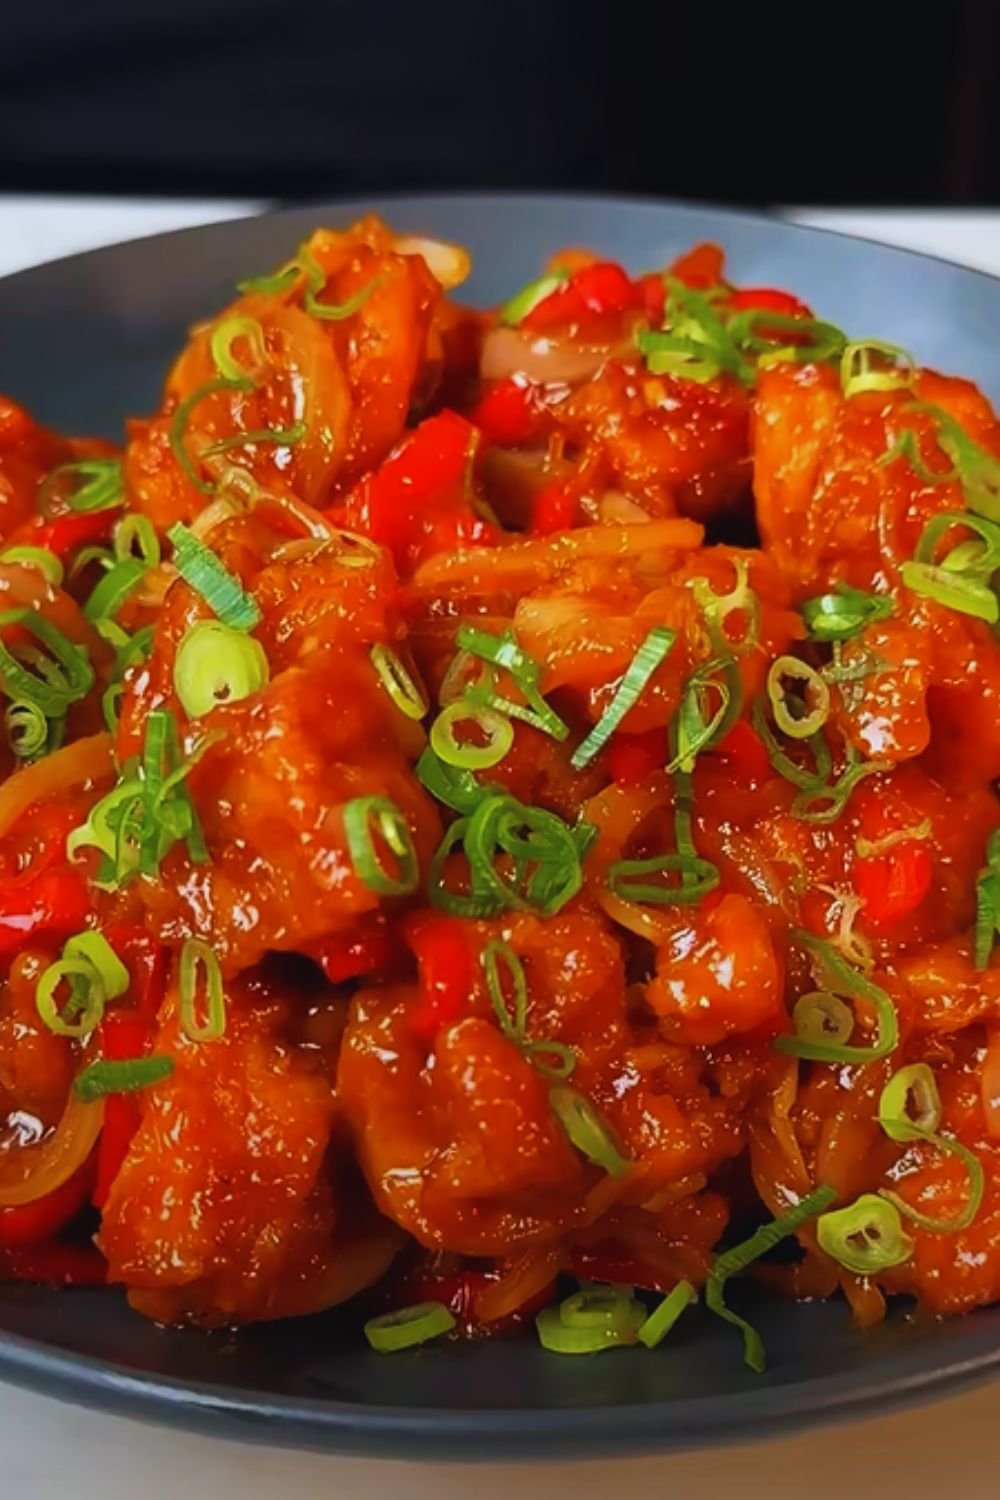
Have you ever craved that perfect balance of crispy chicken coated in a glossy, tangy-sweet sauce? As someone who’s spent years perfecting Asian-inspired dishes in my home kitchen, I’m excited to share my foolproof sweet and sour chicken recipe that rivals any takeout version. The secret lies in the double-frying technique and a sauce that strikes the perfect balance between sweet, sour, and savory flavors.
The Story Behind Sweet and Sour Chicken
Before we dive into the recipe, let me share why I’m passionate about this dish. Growing up in a multicultural neighborhood, I was fortunate to learn authentic Chinese cooking techniques from my next-door neighbor, Mrs. Chen. She taught me that sweet and sour chicken, while popularized in Western Chinese restaurants, has its roots in Hunan cuisine, where the contrast of flavors is essential to the cooking philosophy.

Essential Ingredients
Let’s break down what you’ll need for this recipe:
For the Chicken:
- 2 pounds boneless, skinless chicken thighs, cut into 1-inch cubes
- 2 large eggs
- 1 cup cornstarch
- 1/2 cup all-purpose flour
- 1 teaspoon salt
- 1/2 teaspoon white pepper
- Vegetable oil for frying
For the Signature Sauce:
- 1/2 cup pineapple juice
- 1/4 cup rice vinegar
- 1/4 cup ketchup
- 3 tablespoons brown sugar
- 2 tablespoons soy sauce
- 1 tablespoon cornstarch
- 1/4 cup water (for cornstarch slurry)
For the Vegetables:
- 1 red bell pepper, chunked
- 1 green bell pepper, chunked
- 1 medium onion, chunked
- 1 cup pineapple chunks
- 2 cloves garlic, minced
- 1 thumb-sized piece of ginger, minced
Kitchen Equipment Needed
| Equipment | Purpose | Essential/Optional |
|---|---|---|
| Wok or deep skillet | Main cooking vessel | Essential |
| Deep-fry thermometer | Temperature control | Recommended |
| Spider strainer | Removing fried items | Recommended |
| Heavy-bottom saucepan | Sauce preparation | Essential |
| Sharp knife | Ingredient prep | Essential |
| Mixing bowls | Battering station | Essential |
The Step-by-Step Process
Preparing the Chicken
- Cut your chicken into uniform 1-inch pieces for even cooking
- Create your dredging station:
- Bowl 1: Beaten eggs with a splash of water
- Bowl 2: Cornstarch, flour, salt, and white pepper mixed
- Dip chicken in egg, then coat thoroughly in the flour mixture
- Let coated pieces rest on a wire rack for 10 minutes
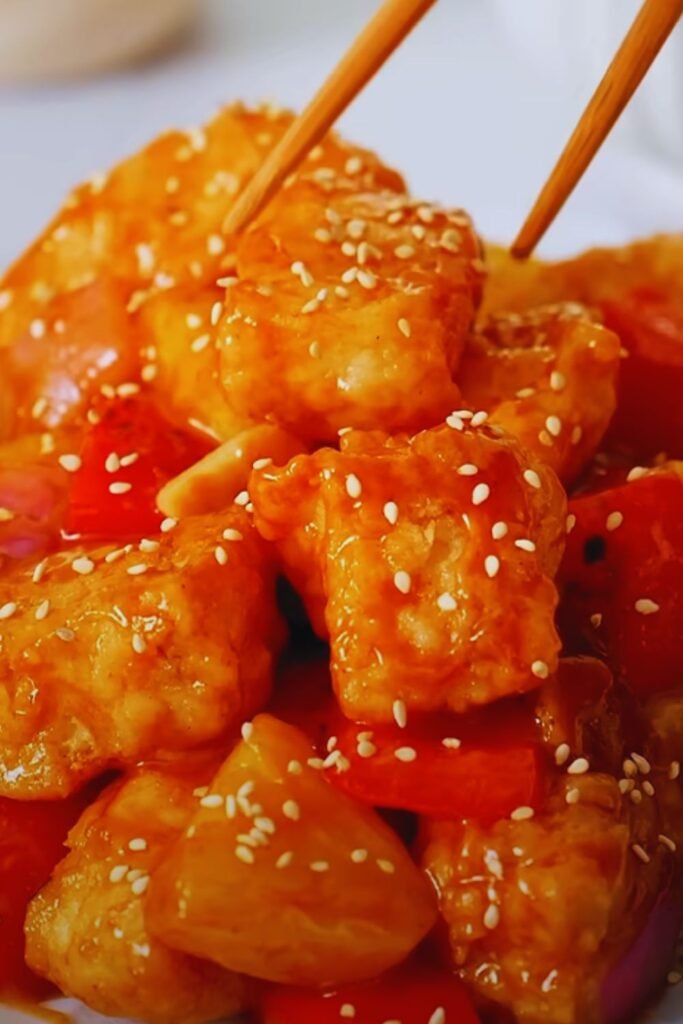
The Double-Frying Technique
Here’s where my method differs from standard recipes. I use a double-frying technique that ensures incredibly crispy chicken that stays crunchy even after being coated in sauce:
- First fry: 350°F (175°C) for 3-4 minutes until light golden
- Rest period: Let chicken cool for 5 minutes
- Second fry: 375°F (190°C) for 2-3 minutes until deep golden
Making the Perfect Sauce
The sauce is where the magic happens. My ratio of ingredients creates a perfect balance that’s not too sweet or too sour:
- Combine pineapple juice, rice vinegar, ketchup, brown sugar, and soy sauce in a saucepan
- Bring to a simmer over medium heat
- Make a cornstarch slurry and add to thicken
- Cook until the sauce coats the back of a spoon
Final Assembly
- Stir-fry vegetables in this order:
- Onions (2 minutes)
- Bell peppers (2 minutes)
- Garlic and ginger (30 seconds)
- Add pineapple chunks
- Pour in the sauce
- Add the twice-fried chicken
- Toss everything together quickly to coat

Pro Tips from My Kitchen to Yours
- Room temperature chicken absorbs the coating better
- Don’t overcrowd the frying pan – work in batches
- Pat your vegetables dry before stir-frying to prevent a watery sauce
- Keep your sauce warm while frying the chicken
- Serve immediately for the best texture
Troubleshooting Common Issues
| Problem | Cause | Solution |
|---|---|---|
| Soggy coating | Oil not hot enough | Use a thermometer to maintain proper temperature |
| Sauce too thick | Too much cornstarch | Add water or pineapple juice to thin |
| Sauce too thin | Insufficient reduction | Simmer longer or add more cornstarch slurry |
| Burnt coating | Oil too hot | Monitor temperature and adjust as needed |
Storage and Reheating
While this dish is best enjoyed fresh, you can store leftovers in an airtight container for up to 3 days. To reheat:
- Oven method (preferred):
- Preheat to 350°F (175°C)
- Place on a baking sheet
- Heat for 10-15 minutes
- Microwave method (quick option):
- Heat in 30-second intervals
- Add a few drops of water to prevent drying
Serving Suggestions
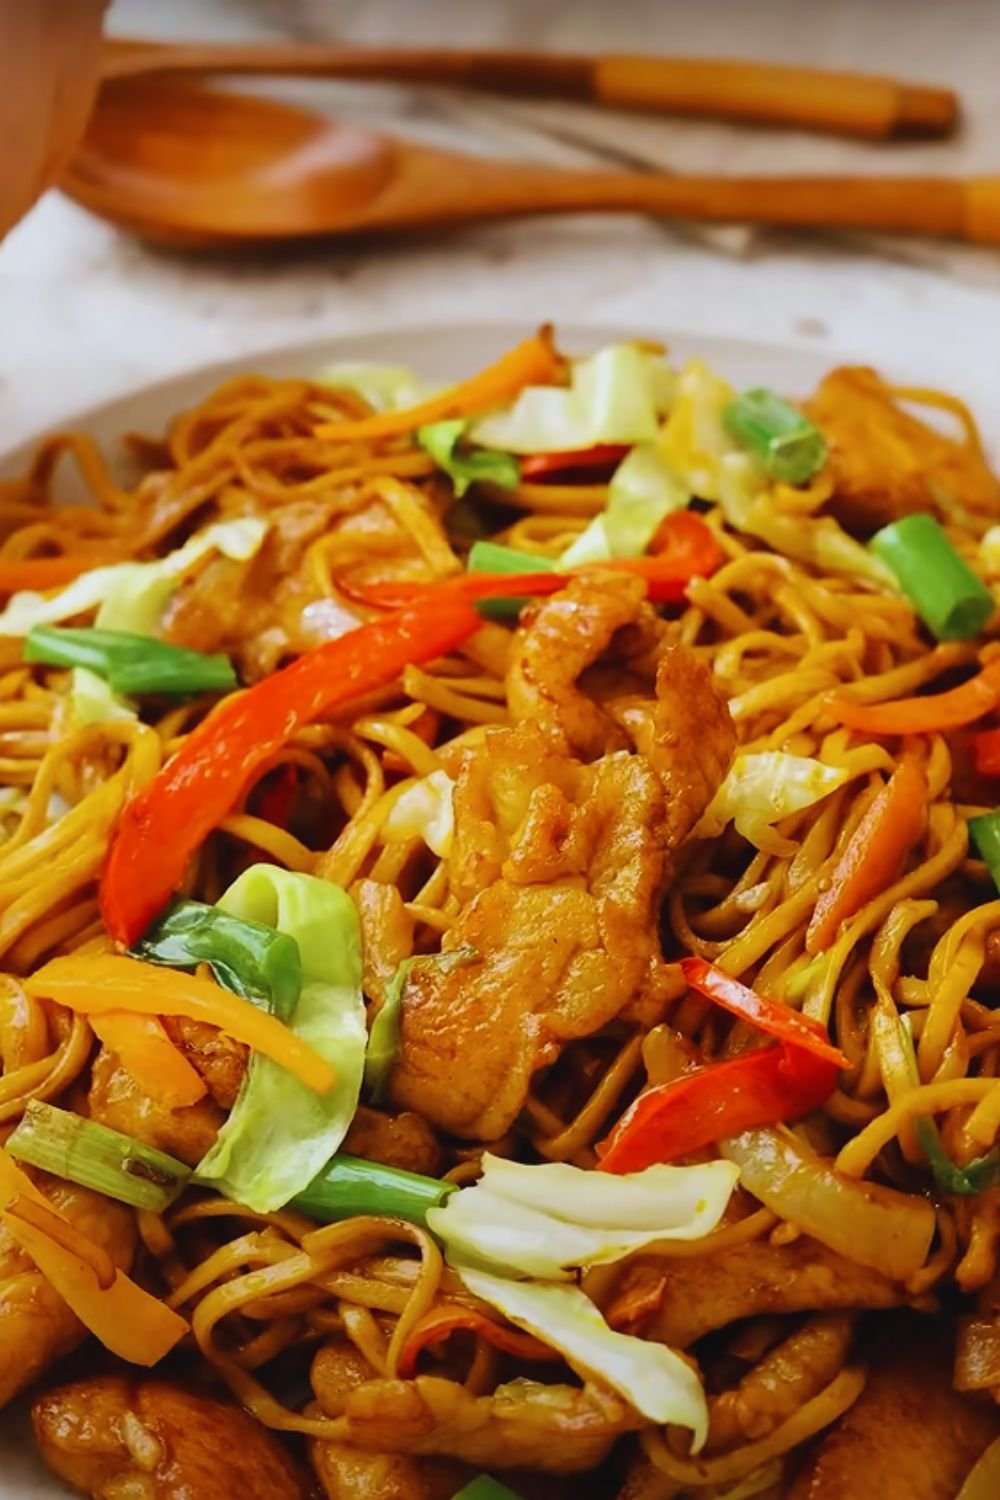
- Steamed jasmine rice
- Coconut rice for a tropical twist
- Stir-fried noodles
- Asian-style coleslaw
- Steamed broccoli
Nutritional Information (Per Serving)
| Nutrient | Amount |
|---|---|
| Calories | 425 |
| Protein | 28g |
| Carbohydrates | 46g |
| Fat | 18g |
| Fiber | 3g |
| Sugar | 24g |
Frequently Asked Questions
Q: Can I use chicken breast instead of thighs?
A: Yes, you can use chicken breast, but reduce the cooking time by 1 minute per fry to prevent drying. Thighs are more forgiving and stay juicier.
Q: Is there a gluten-free version?
A: Absolutely! Replace all-purpose flour with rice flour and use tamari instead of soy sauce. The cornstarch is already gluten-free.
Q: Can I make the sauce ahead of time?
A: Yes, the sauce can be made up to 3 days ahead and stored in an airtight container in the refrigerator. Reheat gently before using.
Q: How spicy is this dish?
A: This recipe is not spicy at all. If you’d like some heat, add 1-2 teaspoons of chili garlic sauce or sriracha to the sauce.
Q: Can I freeze the leftovers?
A: While possible, I don’t recommend freezing as the coating will lose its crispiness. If you must freeze, store for up to 2 months and reheat in the oven for best results.
Recipe Variations
- Vegetarian Option: Replace chicken with extra-firm tofu, pressed and cubed
- Pork Version: Use pork tenderloin instead of chicken
- Extra Crispy: Add 1 tablespoon of baking powder to the flour mixture
- Healthier Version: Air fry the chicken at 400°F for 12-15 minutes, flipping halfway
Remember, cooking is about making the recipe your own. Don’t be afraid to adjust the sweet-to-sour ratio to suit your taste. I’d love to hear how this recipe turns out in your kitchen!